
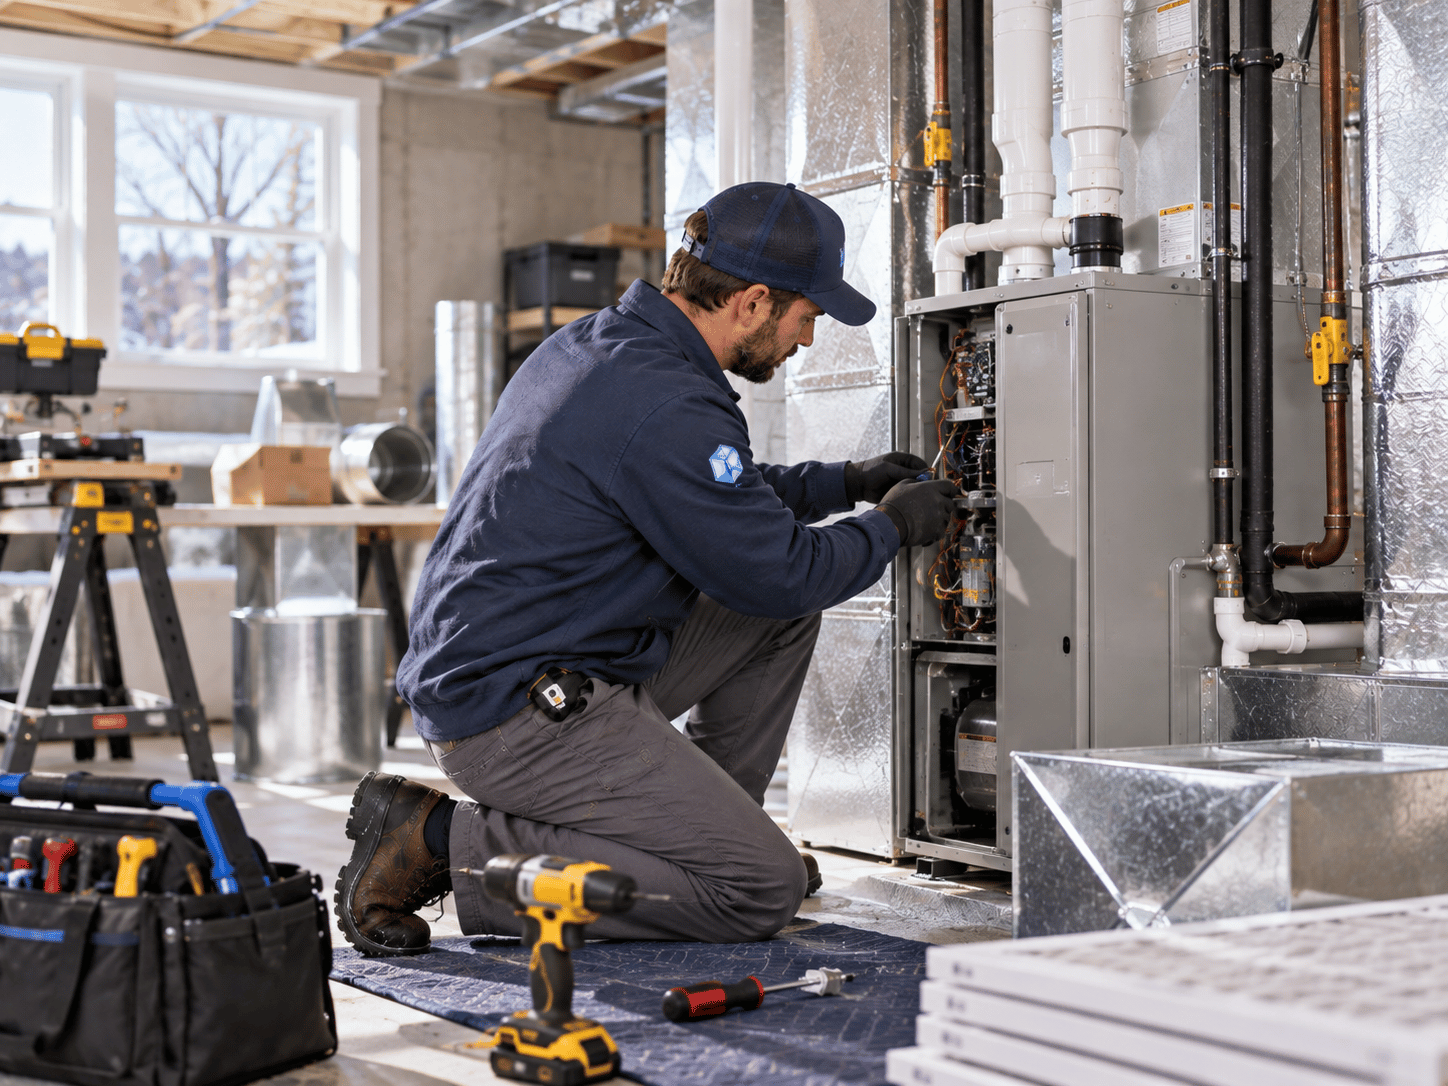
Replacing a heating or cooling system is one of the larger projects a homeowner takes on, and it is also one of the least transparent. Most people have replaced a roof or a water heater before. Very few have watched an HVAC installation from start to finish, and almost nobody knows what is supposed to happen between signing a proposal and having a working system.
That gap creates anxiety, and it also makes it hard to tell a thorough installation from a fast one. Two contractors can quote the same equipment and deliver very different results, because most of what determines whether a system works well happens in steps you never see.
So here is the whole thing, step by step, the way we do it at Cool As Ice HVAC. We are a family business in Norwalk and we have been doing this for more than 30 years. Nothing below is proprietary. It is just what a careful installation looks like.
One note before we start: this article is about the process, not about talking anyone into a replacement. If your system can be repaired and has life left in it, repair it. Our service and repair team handles far more repairs than replacements, and that is how it should be.
Step One: The Conversation Before Anything Is Measured
A good installation starts with questions, not with a product.
The first visit should be mostly listening. What is actually wrong? Which rooms are uncomfortable, and when? Has anything changed recently, like an addition, a finished basement, new windows, or new insulation? How long do you plan to stay in the house? Is there a room you have given up on?
Those answers shape the whole project. A homeowner in Westport who is frustrated that the third floor is unusable in summer has a different problem than one in Trumbull whose boiler simply died. The first may be a distribution problem that new equipment alone will not solve. The second may be a straightforward like-for-like replacement.
We also want to know what you have been told before. Homeowners often arrive at this conversation having already had two or three opinions, some of which contradict each other. It helps to know what is already on the table.
CALL TO ACTION
If you are at the beginning of this and just want an honest read on your options, that conversation costs you nothing but an hour. Call Rudy directly at (203) 515-1141 or fill out our contact form to schedule an appointment.
Step Two: The Home Assessment
This is the part that separates a thorough contractor from a fast one, and it is the part homeowners most often do not get.
A proper assessment means someone walks the whole house, not just the mechanical room. Here is what we are looking at:
- The existing equipment. Make, model, capacity, age, condition, venting, fuel type, and how it is currently piped or ducted.
- The attic. Insulation depth and condition, whether ducts run through it, and whether it is vented.
- The basement or crawlspace. Rim joist condition, duct or pipe runs, moisture, and whether the space is inside or outside the thermal envelope.
- The ductwork or piping. Sizing, layout, obvious leaks, disconnected sections, crushed flex runs, and whether returns exist where they should.
- Every room. Register and return locations, whether they are blocked, window area and orientation, and ceiling heights.
- The electrical service. Panel capacity and available circuits, which matters a great deal if the project involves heat pumps or electric backup heat.
- Access. How equipment will physically get in and out, especially in older homes with narrow bulkhead stairs.
This takes real time. In a typical Fairfield County single-family home, an hour is a minimum and two is common. If someone walks into your basement, glances at the nameplate, and hands you a price in fifteen minutes, they did not do this step.
Step Three: The Load Calculation
With measurements in hand, the next step is calculating how much heating and cooling the house actually needs.
This is done using ACCA Manual J, which the Air Conditioning Contractors of America describes as "the national ANSI-recognized standard for producing HVAC equipment sizing loads for single-family detached homes, small multi-unit structures, condominiums, townhouses, and manufactured homes." The current version is the 8th Edition, published as ANSI/ACCA 2 Manual J - 2016.
The U.S. Department of Energy is direct about why this matters: "To right-size an HVAC system, you must first accurately determine both the heating and cooling loads." DOE also warns that rules of thumb "are too often used to size comfort systems, which results in excessively oversized systems," leading to "increased cost, wasted energy, and too-frequent on-and-off cycling, which can compromise comfort and efficiency" (U.S. Department of Energy, Building Science Education Solution Center).
The calculation is run against local design conditions. For Fairfield County, the ENERGY STAR County-Level Design Temperature Reference Guide (2015) lists a 99% heating design temperature of 9°F and a 1% cooling design temperature of 85°F.
What you should get back is a number, or a set of numbers: a whole-house heating load, a whole-house cooling load, and ideally a room-by-room breakdown. Ask for it. It is the basis of everything that follows.
Step Four: Equipment Selection
Loads tell you how much capacity is needed. They do not tell you which unit to install. That is a separate step, governed by ACCA Manual S.
Manual S matches calculated loads to actual manufacturer performance data at your design conditions, rather than to the capacity printed on the box. The difference matters. A heat pump rated at a nominal capacity delivers less of it as outdoor temperatures fall, so what it does at 47°F and what it does at 9°F are different numbers. A cooling system's split between temperature removal and moisture removal also shifts with conditions.
Selection also involves choices that are not about capacity at all:
- Single-stage, two-stage, or variable capacity. Equipment that can run at partial output holds longer, steadier cycles, which generally means better comfort and better moisture control.
- System type. Furnace and air conditioner, boiler, heat pump, ducted or ductless, or a hybrid arrangement. What makes sense depends on the house, the existing distribution, the fuel available, and the electrical service.
- Blower type. Variable-speed blowers handle higher-efficiency filters and zoning better than fixed-speed ones.
- Physical fit. The unit has to fit the space, the clearances, and the venting path that actually exists in your basement.
We install equipment from a range of manufacturers. We do not think there is one correct brand for every house, and we are wary of anyone who does. The right selection follows from the load and the building, not from what is on the truck.
Step Five: Looking Hard at the Ductwork
If your system is forced air, this step will do more for your comfort than almost anything else, and it is the one most often skipped.
Duct design is covered by ACCA Manual D, which sizes duct runs so each room gets the airflow its individual load requires. New equipment attached to a duct system that was never right will not fix the rooms that were never right.
The scale of duct losses is significant. In developing its savings estimates, the EPA used a baseline of 23% total system duct leakage for homes built between 1970 and 1989, and estimates that air sealing and insulation work saves an average of 15% on heating and cooling costs (ENERGY STAR, Seal and Insulate methodology). Given that ENERGY STAR also notes "nearly half of the energy used in your home goes to heating and cooling," that leakage is not a rounding error.
Common duct problems we find in homes around Norwalk, Stamford, Darien, and Fairfield:
- Returns that are undersized or missing entirely on upper floors.
- Flex duct that is crushed, kinked, or draped over framing in long sags.
- Trunk connections sealed with cloth duct tape that dried out and fell off years ago.
- Supply runs into finished attic spaces with no insulation on the duct.
- Branch runs that were added for an addition without resizing the trunk.
- Registers sized for a different equipment capacity than what is currently installed.
Sometimes the answer is a full redesign. Often it is targeted: seal the accessible joints, add a return where one is missing, replace a crushed run, insulate the attic ducts. A good proposal will be specific about which of these it includes.
Step Six: The Proposal, and What Should Be On It
A proposal should be readable by someone who does not work in this trade. Ours generally covers:
- The calculated loads and the capacity of the proposed equipment, so you can see the relationship between them.
- Specific equipment by manufacturer, model number, and efficiency rating, not just "new high-efficiency system."
- Exactly what duct, venting, piping, electrical, and condensate work is included, and what is not.
- What happens to the old equipment, including removal and disposal.
- Permits and who pulls them.
- Manufacturer warranty terms for the equipment selected, and the labor warranty separately.
- A realistic schedule, including lead time on equipment.
If you are comparing proposals from several companies, the useful comparison is rarely the bottom line by itself. One proposal may include duct sealing, a new return, and a condensate pump while another does not, and those differences show up in how the house feels for the next fifteen years.
CALL TO ACTION
Have a proposal in hand and want a second opinion on whether it covers the right things? We are happy to look at it with you. Call Rudy directly at (203) 515-1141 or fill out our contact form to schedule an appointment.
Step Seven: Permits and Inspections
HVAC replacement in Connecticut generally requires a permit from the local building department, and requirements vary from town to town. Norwalk, Stamford, Greenwich, New Canaan, and Wilton each have their own process, and the same is true across the line in Rye, Armonk, Bedford, and Pound Ridge.
The permit is not bureaucratic overhead. It brings an independent inspector to look at the work, which is genuine protection for you. It also matters when you sell the house, because unpermitted mechanical work has a way of surfacing during a real estate transaction at the worst possible moment.
Your contractor should pull the permit and schedule the inspection as part of the job. If someone suggests skipping it, that tells you something.
Step Eight: Installation Day
Most single-system residential replacements are a one- to two-day job. Larger projects, multi-zone systems, or jobs that involve significant ductwork take longer.
Here is the usual sequence:
- Protection first. Drop cloths and floor protection along the path from the door to the equipment, and around the work area.
- Shutdown and disconnect. Power off and locked out, fuel shut off at the valve, refrigerant recovered according to EPA requirements if there is a cooling system.
- Removal. Old equipment comes out. This is often the loudest and most disruptive hour of the day.
- Preparation. Platform or stand built or repaired, plenum transitions fabricated, venting path prepared, electrical and condensate routes planned.
- Setting the equipment. New unit placed, leveled, and secured with correct clearances.
- Connections. Duct or piping connections made and sealed, gas or oil piping connected and leak-tested, electrical connected, condensate drain and any required pump installed with proper trap and slope.
- Venting. This is safety-critical work on any combustion appliance. Vent material, slope, termination location, and clearances all follow the manufacturer's instructions and code.
- Controls. Thermostat wired and configured, any zoning controls set up.
- Cleanup. Old equipment and packaging removed, work area swept.
You should expect the crew to be able to explain what they are doing at any point. Nothing on that list is a secret.
Step Nine: Startup and Commissioning
This is the step that most determines whether you get the performance you paid for, and it is the easiest one to shortchange because the system appears to work either way.
Commissioning means verifying that the installed system is actually operating the way it was designed to. Depending on the equipment, that includes:
- Measuring airflow and static pressure across the system, and adjusting blower speed to match.
- Verifying refrigerant charge by measurement rather than by feel, on cooling equipment.
- Performing a combustion analysis on fuel-burning equipment, checking gas pressure and confirming the unit is firing within the manufacturer's specification.
- Confirming the venting draws correctly and that there is no spillage.
- Testing every safety control and limit.
- Verifying the condensate drain actually drains.
- Checking temperature rise or temperature drop across the equipment against the manufacturer's range.
- Running the system through a full cycle in every mode and every zone.
A system with the correct equipment, installed neatly, but never properly commissioned can easily underperform a cheaper system that was set up correctly. Ask whether commissioning is included and what it covers.
Step Ten: The Walkthrough
Before anyone leaves, you should know how to live with the system. A proper walkthrough covers:
- Where the filter is, what size it is, which way the arrow points, and how to get at it.
- How to operate the thermostat, including any modes you will not use daily.
- Where the electrical disconnect and the emergency shutoff switch are.
- Where the fuel shutoff is.
- What normal operation sounds like, so you can recognize abnormal later.
- What the equipment's warranty covers and what registration, if any, is required.
- When the first maintenance visit should happen.
ENERGY STAR's filter guidance is worth writing down while someone is standing there: check it monthly during heavy use, and "if the filter looks dirty after a month, change it. At a minimum, change the filter every 3 months."
This is also the moment to confirm your carbon monoxide alarms. The U.S. Consumer Product Safety Commission recommends CO alarms "on every level of the home and outside sleeping areas," and notes that "more than 200 people in the United States die every year from accidental non-fire related CO poisoning associated with consumer products." A new combustion appliance is a good prompt to check that yours work.
What Can Go Wrong, and How to Avoid It
In our experience, installation problems cluster in a few predictable places:
- Equipment sized from the old nameplate. If the old unit was oversized, matching it carries the error forward.
- Ductwork left untouched. New equipment on a bad distribution system produces the same uneven rooms as before, and homeowners are understandably upset about it.
- No commissioning. The system runs, so nobody notices the airflow is wrong or the charge is off until the first extreme weather.
- Condensate handled carelessly. A drain without proper slope or a pump without a safety switch turns into a ceiling stain.
- Venting improvised. On combustion equipment, this is a safety issue, not a cosmetic one.
- Thermostat left on defaults. Staging, cycle rates, and equipment type settings all need to match what was installed.
- No permit. No independent set of eyes on the work, and a problem at resale.
The common thread is that all of these are invisible on the day of installation. That is why the questions you ask before the job matter more than the ones you ask after.
How Long Does the Whole Thing Take?
From first phone call to finished system, a straightforward residential replacement typically runs one to three weeks, with most of that being scheduling and equipment lead time rather than labor. The installation itself is usually one or two days.
Emergencies compress this. When a system fails in January, we work differently, and there is a real tension between doing the process properly and getting heat back on tonight. In those cases we will often get the house safe and warm first and then have the design conversation, rather than the other way around. If you are in that situation right now, we run emergency HVAC service around the clock.
The better plan, when you have the choice, is to make this decision in September or April rather than during a cold snap.
When Replacement Is Not the Right Answer
We want to be plain about this, because a whole article about installation can start to read like a sales pitch.
Most heating and cooling problems are not replacement problems. A system that is noisy, short-cycling, heating unevenly, or not keeping up often has a specific, repairable cause: a failing control, a restricted filter, a refrigerant issue, a bad zone valve, a duct that came apart, a thermostat in the wrong place. Diagnosing and fixing that is cheaper and less disruptive than replacing working equipment.
Age alone is not a reason. We have seen well-maintained equipment past twenty years running fine, and neglected equipment fail at eight.
Replacement becomes the reasonable choice when several things stack up together: the equipment has failed or is close to it, repairs have become frequent, a major component has gone, parts are getting hard to source, or the system has never been able to do the job the house needs. Any single one of those, by itself, usually is not enough.
If you are on the fence, regular HVAC maintenance and an honest inspection will tell you more than any rule about equipment age. We would rather service your system for another five years than sell you something you did not need. That is how a family business stays in a town like Norwalk for 30 years.
We do this work for homes across Fairfield County and for businesses too, through our residential HVAC and commercial HVAC services.
Frequently Asked Questions
How long does an HVAC installation take?
Most single-system residential replacements take one to two days of on-site work. Projects involving significant ductwork, multiple zones, or a change in system type take longer. From first visit to completed installation, one to three weeks is typical, with scheduling and equipment lead time accounting for most of that.
Do I need a permit to replace my furnace or air conditioner?
HVAC replacement generally requires a permit from your local building department, and the specific requirements vary by town. Your contractor should handle pulling the permit and scheduling the inspection. The inspection provides an independent review of the work and avoids complications when you eventually sell the home.
Will I need new ductwork with a new system?
Not always, but the ducts should always be evaluated. Sometimes existing ductwork is fine and only needs sealing at the joints. Sometimes a return needs to be added or a crushed run replaced. Occasionally a full redesign is warranted. New equipment attached to a duct system that never worked properly will not solve room-by-room comfort problems on its own.
What is commissioning and why does it matter?
Commissioning is the process of verifying that an installed system operates as designed: measuring airflow and static pressure, confirming refrigerant charge on cooling equipment, performing combustion analysis on fuel-burning equipment, testing safeties, and checking temperature rise or drop against manufacturer specifications. A system can appear to work without it while quietly underperforming, so it is worth confirming it is included.
Can you install a system in an older Connecticut home without ducts?
Yes. Many older homes in Fairfield County have hydronic heat with radiators or baseboard and no ductwork at all. Options include boiler replacement, ductless systems, high-velocity small-duct systems, or hybrid arrangements. Which one fits depends on the house layout, the existing distribution, and what you are trying to solve. We work on both ducted and hydronic heating systems.
What should I ask a contractor before signing a proposal?
Ask what the calculated heating and cooling loads are, what specific equipment is proposed by model number, what duct and venting work is included, who pulls the permit, what commissioning is performed, and what the equipment and labor warranties cover separately. A contractor doing the job properly will have ready answers to all of these.
CALL TO ACTION
If you are planning a system replacement and want it done by measurement rather than guesswork, we would be glad to walk your house. Call Rudy directly at (203) 515-1141 or fill out our contact form to schedule an appointment.
About Cool As Ice HVAC
Cool As Ice HVAC is a family-owned heating and cooling company based in Norwalk, Connecticut, with more than 30 years of experience serving local homeowners and businesses.
- Office: (203) 515-7693
- Rudy Jimenez, head mechanic, direct: (203) 515-1141
- Hours: Monday through Friday, 7am to 6pm; Saturday, 8am to 4pm
- Emergency service: available 24/7
We serve Fairfield County, including Norwalk, Stamford, Greenwich, Darien, New Canaan, Westport, Fairfield, Wilton, Weston, Ridgefield, and Trumbull, along with select communities in Westchester County, New York, including Rye, Armonk, Bedford, and Pound Ridge. See our service areas page for the full list.